
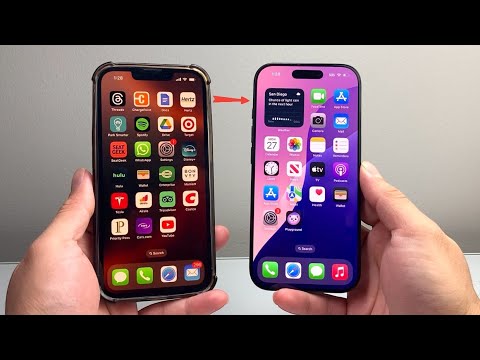
The release of the iPhone 16 and iPhone 16 Pro signifies a shift toward an all-digital cellular ecosystem. Leveraging the iOS 18 framework, Apple has refined the eSIM Quick Transfer protocol, utilizing automated background handshakes and encrypted proximity sensing to migrate cellular identities without physical intervention. For professionals at Smart AI Fix, the goal is to optimize this software-driven transition to ensure zero downtime.
Prerequisites for Automated eSIM Migration
Before initiating the transfer, ensure both the legacy device and the new iPhone 16 Pro meet the necessary software criteria to allow the AI-driven setup assistant to function correctly. Both devices must be running iOS 16 or later (though iOS 18 is recommended for the iPhone 16 series), have Bluetooth enabled, and be signed into the same iCloud/Apple ID. Furthermore, the old device must be unlocked and in close proximity to the new hardware to facilitate the secure peer-to-peer connection.
Method 1: Utilizing eSIM Quick Transfer (Recommended)

The most efficient method utilizes the eSIM Quick Transfer feature, which automates the de-provisioning of the old SIM and the provisioning of the new one through a secure software bridge.
1. Power on your new iPhone 16 and place it near your old iPhone.
2. Follow the on-screen Quick Start instructions. When prompted to "Set Up Cellular," select the Transfer from nearby iPhone option.
3. On the old iPhone, a notification will appear asking to "Transfer SIM." Confirm this by tapping Transfer.
4. A verification code will be generated. Enter this code on the iPhone 16 to authorize the automated carrier handshake.
5. Wait for the cellular bars to appear on the iPhone 16. Once active, the eSIM on the old device will be automatically deactivated via the carrier’s backend API.
Method 2: Manual Settings Migration (Post-Setup)
If you bypassed the initial setup, you can trigger the automated migration via the iOS Settings menu. This process uses the same secure automation protocols but is executed within the cellular configuration stack.
1. Navigate to Settings > Cellular > Add eSIM on the new iPhone 16.
2. Select Transfer From Nearby iPhone from the list of options.
3. The AI-driven proximity sensor will detect your old device. Select the phone number you wish to migrate.
4. Follow the prompts to confirm the transfer. In some instances, a double-click of the side button is required to confirm the FaceID/Secure Enclave authorization for the transfer.
AI Implementation Score: eSIM Transfer Efficiency
At Smart AI Fix, we evaluate hardware-to-software transitions based on their automation and security logic. The iPhone 16 eSIM migration scores high due to its reduced reliance on manual carrier input.
| Metric | Score (1-10) | Technical Reasoning |
|---|---|---|
| Efficiency | 9.5 | Process completes in under 120 seconds via local sync. |
| Automation Level | 9.0 | Eliminates the need for physical SIM extraction and QR codes. |
| Security | 9.8 | Uses Secure Enclave and end-to-end encrypted proximity handshakes. |
| User Effort | 9.2 | Guided UI minimizes technical friction for the end user. |
Troubleshooting Carrier-Specific Constraints
While the iPhone 16 Pro architecture is optimized for software-based transfers, some carriers may require an additional SMS verification or a Carrier App login to finalize the migration. If the automated transfer fails, it is often due to a carrier-side lock on the eSIM profile. In such cases, Smart AI Fix recommends checking if your carrier supports eSIM Carrier Activation, which allows the provider to push the eSIM profile directly to your device via the cloud (IMEI-based) without requiring the old device to be present.
By leveraging these automated workflows, the iPhone 16 series ensures that your digital identity remains mobile, secure, and integrated within the Apple software ecosystem.
