
Mastering Screen Recording on iPhone 14 Pro: A Technical Deep Dive

The iPhone 14 Pro and iPhone 14 Pro Max have redefined how users capture on-device workflows. Powered by the A16 Bionic chip and its advanced Neural Engine, screen recording is no longer just a passive capture tool; it is a high-bandwidth data acquisition method that integrates seamlessly with iOS automation and AI-driven post-processing pipelines.

Step 1: Configuring the Control Center Interface
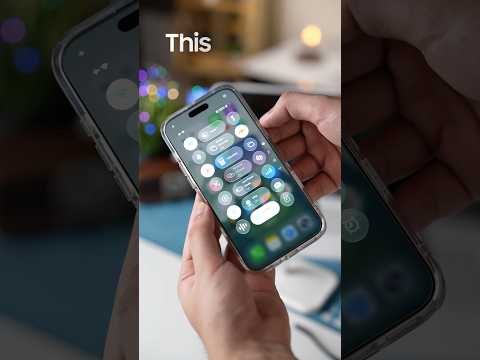
Before initiating a capture, the recording module must be mapped to the iOS Control Center. Navigate to Settings > Control Center. Scroll down to "More Controls" and tap the green plus icon next to Screen Recording. This adds the toggle to your active interface, allowing for near-instantaneous activation. On the iPhone 14 Pro series, this utility utilizes the Dynamic Island to provide real-time status updates without obstructing the UI elements being recorded.
Step 2: Executing High-Resolution Capture
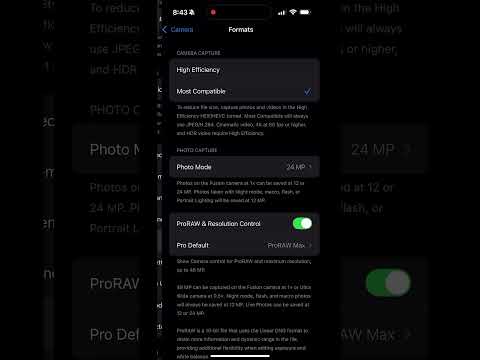
To start recording, swipe down from the top-right corner of the display to access the Control Center. Tap the Screen Recording icon. A three-second countdown will commence, allowing the A16 Bionic’s ISP (Image Signal Processor) to calibrate the display buffer. Once active, a red indicator will appear within the Dynamic Island. This is a critical hardware-software synergy point; the Island expands to show recording duration while maintaining touch-sensitivity for multitasking.
To capture external audio alongside system sounds, long-press (Haptic Touch) the Screen Recording icon before starting. This opens a sub-menu where you can toggle the Microphone on. This is essential for creators using AI-voice transcription tools later in their workflow.
Step 3: Automation and AI-Driven Enhancements

For power users at Smart AI Fix, manual recording is often the first step in an automated chain. By utilizing iOS Shortcuts, you can trigger screen recordings based on specific app launches or time-based parameters. Furthermore, once the file is saved to the Photos app in H.264 or HEVC format, third-party AI tools can be deployed to automatically remove "dead air," generate captions using Whisper AI, or upscale resolution using neural networks.
AI Implementation Score: iPhone 14 Pro Recording
| Metric | Score (1-10) | Technical Justification |
|---|---|---|
| User Accessibility | 9.5 | Native integration within the Control Center allows for zero-latency activation. |
| Hardware Optimization | 9.0 | A16 Bionic handles 60fps capture with negligible thermal throttling or FPS drops. |
| Automation Potential | 8.5 | Strong integration with iOS Shortcuts and AppleScript-like workflows. |
| AI Integration | 7.5 | Neural engine optimizes compression; however, native AI-transcription is currently secondary. |
Finalizing the Capture
To terminate the session, tap the red indicator in the Dynamic Island and confirm the "Stop" command. The file is instantly written to your Photos library. For professional technical documentation, it is recommended to utilize AirDrop or iCloud Drive to transfer the file to a workstation to avoid bitrate loss during compression over standard messaging protocols.
