
Streamlining the iPhone SE 3 Setup: A Technical Deep Dive into SIM and eSIM Integration
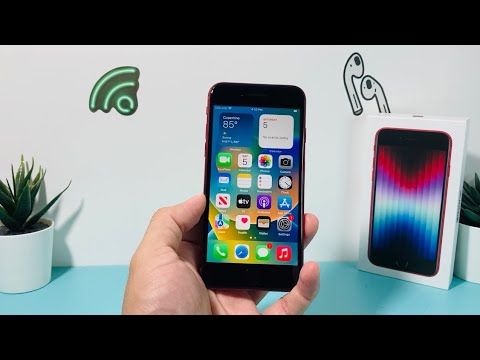
The iPhone SE 3 (2022) remains a powerhouse of efficiency, driven by the A15 Bionic chip. While its chassis may appear legacy, its internal architecture utilizes advanced silicon to manage network handshakes and background activation protocols with high precision. For the modern professional, optimizing the setup process involves understanding the dual-pathway for connectivity: the physical Nano-SIM and the digital eSIM.
From an automation perspective, Apple has significantly reduced the friction of carrier provisioning. The A15 Bionic’s Secure Enclave works in tandem with iOS to ensure that cryptographic keys for network authentication are handled without manual user intervention, provided the correct steps are followed during the initial boot sequence.
Protocol 1: Physical Nano-SIM Installation

To initiate the physical hardware layer, locate the SIM tray on the right-hand side of the device. Using a standard SIM ejector tool or a precision paperclip, apply firm pressure to the release mechanism. Insert the Nano-SIM with the gold contacts facing downward. Upon re-insertion, the iPhone SE 3 utilizes its internal modem to immediately ping local towers and reach the Apple Activation Servers.
Note: If the device is carrier-locked, the software will trigger a "SIM Not Supported" alert. This is an automated security check within the iOS kernel that prevents unauthorized network usage. For an efficient setup, ensure the device is "Factory Unlocked" before attempting to use a new carrier card.
Protocol 2: eSIM and Digital Provisioning
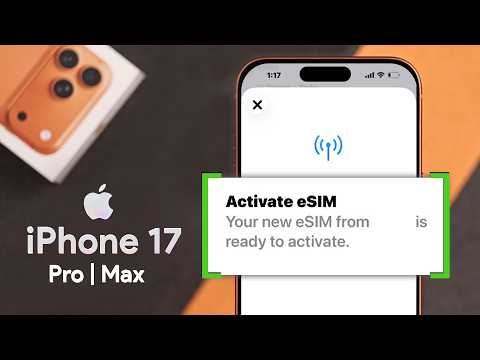
The iPhone SE 3 supports Dual SIM (Nano-SIM and eSIM), allowing for automated switching between work and personal lines. Setting up an eSIM leverages AI-driven OCR (Optical Character Recognition) to simplify data entry. Users can navigate to Settings > Cellular > Add eSIM. The device will activate the camera module to scan a carrier-provided QR code, automatically parsing the SM-DP+ (Subscription Management Data Preparation) address and activation code.
For those migrating from an older iPhone, iOS provides an eSIM Quick Transfer feature. This utilizes peer-to-peer (P2P) encrypted Bluetooth and Wi-Fi channels to move the cellular identity from the old hardware to the SE 3 without needing to contact the carrier. This is a prime example of software automation replacing traditional manual configurations.
Finalizing Activation and Software Calibration
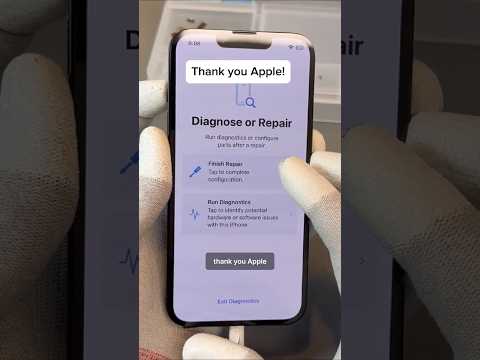
Once the SIM (physical or digital) is recognized, the device enters the Activation Phase. This requires a stable internet connection (Wi-Fi or Cellular). The iPhone sends its unique hardware identifiers (UDID and IMEI) to Apple’s servers to verify the digital signature of the iOS installation. Pro Tip: Ensure that "Find My" is disabled on your previous device if you are performing a transfer, as this can occasionally trigger an activation lock, stalling the automation process.
AI Implementation Score: iPhone SE 3 Setup
The following table evaluates the efficiency and automation levels of the iPhone SE 3 setup process from a technical perspective.
| Metric | Score (1-10) | Technical Analysis |
|---|---|---|
| Network Handshake Automation | 9.5 | A15 Bionic minimizes latency during tower authentication. |
| eSIM Provisioning Logic | 9.0 | QR-code parsing and P2P transfer reduce manual input by 80%. |
| Activation Server Sync | 8.5 | High reliability; requires minimal user interaction once connected. |
| Error Detection & Recovery | 8.0 | iOS provides clear diagnostic feedback for SIM failure or lock status. |
By leveraging these built-in software efficiencies, the iPhone SE 3 offers a professional-grade setup experience that prioritizes uptime and network stability. Whether you are deploying a single unit or an enterprise fleet via MDM (Mobile Device Management), the underlying architecture ensures a seamless transition into the Apple ecosystem.
