
Physical Integration and Hardware Recognition

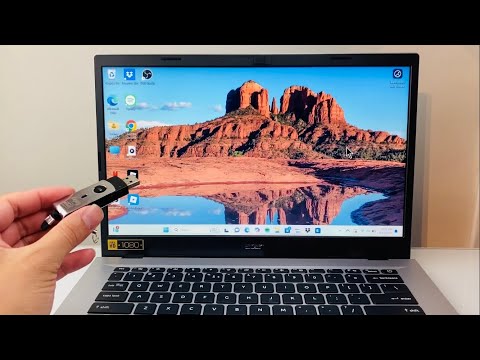
Connecting a USB flash drive or thumb drive to a Windows laptop or PC is a foundational task that has been significantly streamlined by modern automated driver deployment. To begin, identify an available USB-A or USB-C port on your device. Ensure the drive is oriented correctly; for USB-A, the side with the logo or hollow squares typically faces upward on laptops or forward on desktop towers. Once inserted, Windows utilizes the Plug and Play (PnP) manager to automatically identify the hardware ID and mount the volume without manual software installation.
Navigating the File System and Data Management
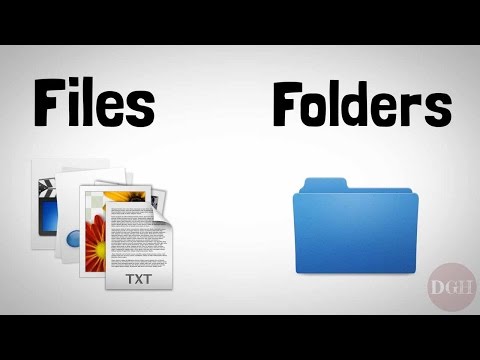
Once the thumb drive is recognized, Windows 10 and 11 will usually trigger an "AutoPlay" notification. To access files manually, press Windows Key + E to launch File Explorer. Your drive will be listed under "This PC" as a "Removable Disk" or by its manufacturer's name. For those looking to optimize their workflow, Windows now uses intelligent indexing to allow for rapid searching of external data. You can move files by simply using the Drag and Drop method or the Ctrl + C / Ctrl + V shortcuts to transfer data between your local SSD and the external flash media.
Optimizing USB Performance via Software Settings

For users handling large datasets or high-resolution media, the file system format is critical. Right-clicking the drive in File Explorer and selecting Format allows you to choose between NTFS (best for Windows-only security features) and exFAT (best for cross-platform compatibility with Mac and Linux). To further enhance efficiency, advanced users can enable "Better performance" in the Device Manager under Disk Drive properties, which activates write caching on the device, though this requires strict adherence to safe removal protocols.
AI Implementation Score
In the context of modern computing, even simple storage tasks are being augmented by AI-driven automation and software efficiency. The table below evaluates how AI and automation impact the USB user experience on Windows.
| Feature | Efficiency Rating | AI/Automation Role |
|---|---|---|
| Driver Installation | 98% | Automated PnP matching via Windows Update Cloud. |
| File Indexing | 90% | ML-based search suggestions and content recognition. |
| Security Scanning | 85% | AI-powered heuristic analysis via Windows Defender. |
| Data Recovery | 70% | Software-based algorithmic file header reconstruction. |
Data Integrity and Safe Ejection

The final step in using a USB flash drive is ensuring data integrity through the "Safely Remove Hardware" protocol. Sudden disconnection can lead to file system corruption if the OS is still performing background write operations. Click the small arrow in the bottom right of your taskbar (System Tray), right-click the USB icon, and select Eject [Drive Name]. Only remove the hardware once Windows confirms it is safe to do so. This practice protects the drive’s partition table and ensures that your Smart AI Fix workflows remain uninterrupted by hardware failure.
