
Activating eSIM via QR Code on iPhone: The Definitive Efficiency Guide
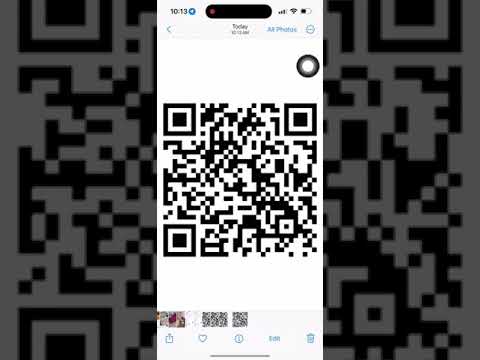
The transition from hardware-dependent physical SIM cards to software-defined connectivity represents a significant leap in mobile automation. For the modern professional, leveraging eSIM technology on an iPhone is not just about convenience; it is about optimizing device management and ensuring seamless global roaming without manual intervention. At Smart AI Fix, we view this process as a critical step in the "invisible tech" stack where software handles the heavy lifting of carrier provisioning.
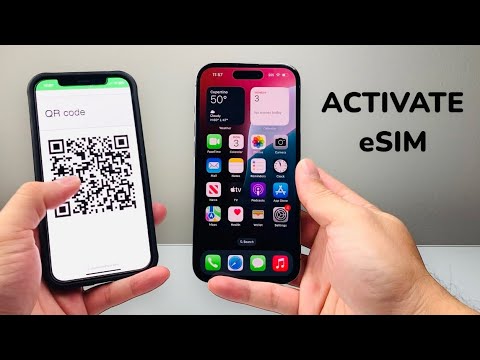
Before initiating the process, ensure your iPhone is connected to a stable Wi-Fi network and is running the latest version of iOS to ensure maximum compatibility with carrier protocols.
AI Implementation & Efficiency Score
To evaluate how this technology integrates into a modern automated workflow, we have rated the eSIM QR activation process across four key metrics:
| Category | Score (1-10) | Notes |
|---|---|---|
| Provisioning Efficiency | 9.5 | Reduces activation time from days (mail) to seconds. |
| Automation Potential | 8.0 | Carrier profiles are downloaded and configured automatically. |
| Security Protocols | 9.0 | Encrypted QR tokens prevent SIM swapping attacks. |
| Software Integration | 10.0 | Deeply embedded into the iOS "Cellular" architecture. |
Step-by-Step Technical Execution

To activate your eSIM via QR code, follow these precise technical steps to ensure the software handshake between your device and the carrier is successful:
1. Access Cellular Settings: Open the Settings app on your iPhone. Navigate to the Cellular (or Mobile Data) section. This is the central hub for managing your device's network identity.
2. Initiate Add eSIM: Tap on Add eSIM. Your iPhone will present two options: "Transfer from Nearby iPhone" or "Use QR Code." Select Use QR Code to trigger the camera-based provisioning system.
3. Scan the Carrier Token: Position your iPhone's camera over the QR code provided by your carrier. This code contains an LPA (Local Profile Assistant) string that instructs your iPhone's Secure Element to download the unique carrier profile from their remote servers.
4. Confirmation and Labeling: Once the "eSIM from [Carrier]" notification appears, tap Continue. You will then be prompted to label your new cellular plan (e.g., Travel, Business, or Primary). This metadata helps iOS manage data-switching automation effectively.
5. Network Configuration: Your iPhone will now communicate with the carrier’s server to finalize the activation. Once the status bars appear at the top of your screen, the software provisioning is complete.
Optimizing the Software Workflow
For users seeking peak efficiency, iPhone’s Dual SIM capabilities allow you to automate which line handles data and which handles voice. Within Settings > Cellular, you can toggle Cellular Data Switching. This allows the iPhone’s internal algorithms to switch between the eSIM and your physical SIM based on signal strength and availability, ensuring you are never offline.
If the QR code fails to scan, you can manually enter the SM-DP+ Address and Activation Code provided by your carrier. This bypasses the visual interface and interacts directly with the network configuration layer of the OS.
