
Activating a legacy powerhouse like the Samsung Galaxy S9 requires a precise blend of physical preparation and software synchronization. While newer models have moved toward eSIM dominance, the Galaxy S9 remains a reliable piece of hardware for those prioritizing expandable storage and dedicated biometric sensors. To begin the initialization process, ensure your device is powered off to prevent electrical surges during the SIM insertion phase.
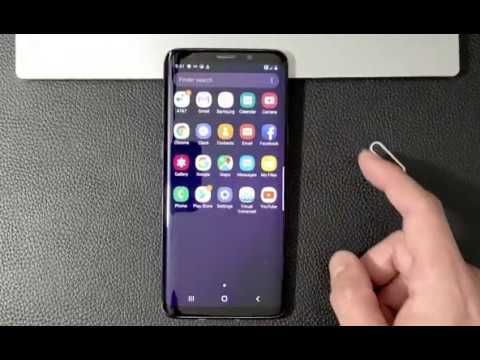
Physical Installation: The Nano-SIM and MicroSD Configuration
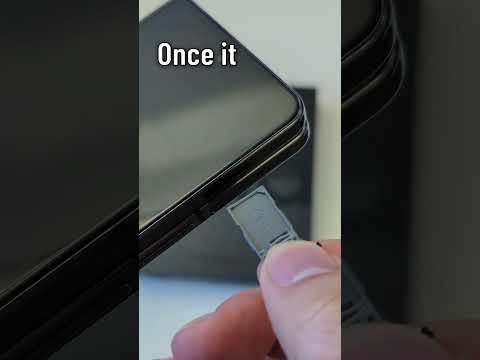
The Galaxy S9 utilizes a Nano-SIM card (4FF). Locate the SIM tray on the top edge of the device. Using the specialized SIM ejection tool—or a standard precision paperclip—apply firm, vertical pressure into the small pinhole. The tray will eject slightly, allowing you to pull it out. Place your SIM card into Slot 1 with the gold contacts facing downward. If you are leveraging the device for high-capacity media, this is the optimal time to insert a MicroSD card into the secondary slot. Carefully slide the tray back into the chassis until it is flush with the frame.
Software Onboarding and AI Ecosystem Integration

Upon powering the device by holding the side button, you will be greeted by the Android "Welcome" screen. The most critical step for AI efficiency and seamless automation is the Google Account sign-in. This serves as the foundational layer for your digital identity, syncing predictive text models, Google Assistant routines, and automated cloud backups. During the setup wizard, ensure you enable "Device Maintenance" and "Find My Mobile," as these features utilize background algorithms to optimize battery longevity and device security automatically.
Optimizing with Samsung Smart Switch
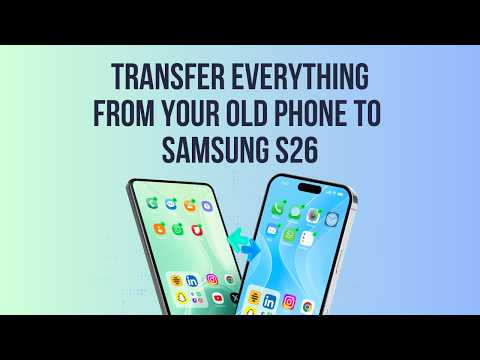
For users migrating from an older device, Samsung Smart Switch is the gold standard for automated data transfer. Whether you are coming from an older Galaxy or an iPhone, this tool uses high-speed Wi-Fi Direct or a wired USB-C connection to mirror your previous environment. This automation includes the transfer of call logs, messages, and even home screen layouts, significantly reducing the manual configuration time. To maximize your hardware's potential, consider upgrading your peripheral ecosystem with the hottest gadgets and gear for your S9.
AI Implementation Score: Galaxy S9
While the S9 was a pioneer in mobile AI with the introduction of the dedicated Bixby button, its capabilities compared to modern neural processing units (NPUs) are categorized below:
| Feature Category | Implementation Score (1-10) | Efficiency Note |
|---|---|---|
| Voice Assistant (Bixby/Google) | 7/10 | Reliable for system-level automation. |
| Predictive Battery Management | 6/10 | Uses AI to throttle background apps. |
| Automated Data Sync | 9/10 | Seamless integration with Google/Samsung Cloud. |
| Computational Photography | 5/10 | Early-stage scene recognition algorithms. |
Finalizing Your Setup
Once the initial OS configuration is complete, navigate to the Galaxy Store and Google Play Store to update all system-level AI components. If you find that the hardware limitations of the S9 are hindering your workflow, professional recyclers suggest the Cheapest Galaxy S10 as a logical next step for improved NPU performance and multi-lens camera automation. Always ensure your "Software Update" menu is checked immediately after activation to patch the latest security protocols and optimization scripts.
