
Efficiency in the digital workspace is often measured by how quickly we can capture, process, and share data. For MacBook power users, mastering the native screen capture ecosystem is the first step toward building a high-velocity documentation pipeline. While third-party AI tools can analyze visual data, they require clean inputs. Here is how to master the four essential methods for capturing your macOS environment with pixel-perfect precision.
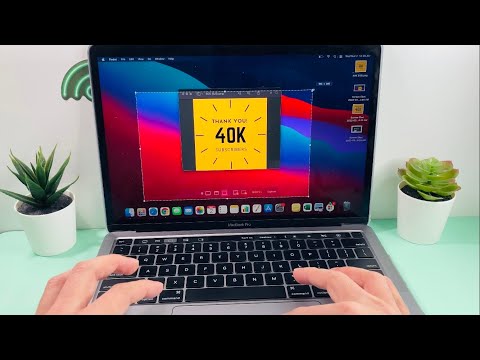
1. The Full Desktop Capture: Command + Shift + 3

This is the fastest method for capturing everything currently visible on your display. By pressing Command + Shift + 3 simultaneously, macOS generates a high-resolution PNG of your entire screen. In a multi-monitor setup, this command will generate separate files for each display. This is ideal for logging entire system states or documenting software bugs where context across the whole UI is necessary for AI-driven troubleshooting tools.
2. Precision Area Selection: Command + Shift + 4
When you need to isolate specific data points—such as a specific graph or a block of code—Command + Shift + 4 is the most efficient choice. Once pressed, your cursor transforms into a crosshair. Click and drag to select the exact region you wish to capture. Pro Tip: Hold the Spacebar after dragging to move the selected area, or hold Shift to lock the dimensions of the selection while resizing. This minimizes the "noise" in your images, making them better suited for OCR (Optical Character Recognition) processing.
3. The Professional Window Capture: Command + Shift + 4 + Space

To capture a specific window with a clean, aesthetic drop shadow, use the Command + Shift + 4 shortcut, then immediately press the Spacebar. Your cursor will turn into a camera icon. Click on any window (or the Menu Bar) to capture it in isolation. This method is superior for software documentation and automated training manuals because it eliminates the messy desktop background, focusing the AI’s attention entirely on the active application interface.
4. The Screenshot Utility Suite: Command + Shift + 5

Introduced in more recent versions of macOS, Command + Shift + 5 opens a comprehensive on-screen toolbar. This utility provides advanced options, including Timed Delays (5 or 10 seconds), which are essential for capturing hover-states and dropdown menus that otherwise disappear. This suite also houses the Screen Recording tools. For users leveraging AI to automate video summaries or tutorials, this built-in utility provides the highest quality source material without the overhead of third-party software.
AI Implementation Score
Capturing images is only the first step. The following table evaluates how these native methods integrate with modern AI workflows, such as automated data extraction and machine learning training.
| Method | Speed Rating | AI Data Quality | Best Use Case |
|---|---|---|---|
| Full Screen (Cmd+3) | 95% | 60% | System Logs |
| Selected Area (Cmd+4) | 85% | 90% | OCR Data Input |
| Window Only (Cmd+4+Space) | 80% | 95% | UI/UX Training |
| Utility Menu (Cmd+5) | 70% | 100% | Complex Workflows |
By integrating these shortcuts into your daily routine, you move beyond simple "pictures" and start generating structured visual data. For those using AI tools to automate their business, the quality of your screenshots determines the accuracy of your automation.
