
With the release of iOS 26, Apple has further integrated its Neural Engine into the native camera architecture, transforming how users capture high-frame-rate content. Recording Slo-Mo (slow motion) video is no longer just about hardware shutter speeds; it now leverages AI-driven frame interpolation to ensure fluid motion even in sub-optimal lighting conditions.
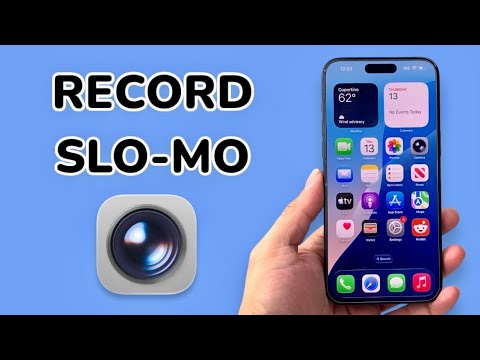
Step-by-Step: Recording Slo-Mo on iOS 26
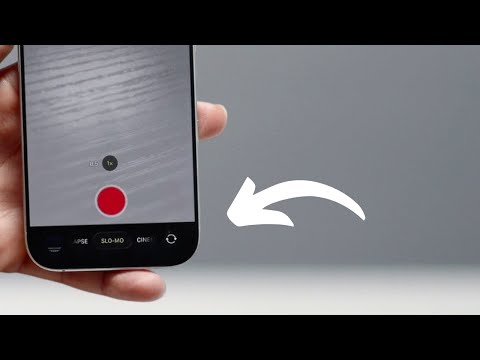
To begin capturing high-fidelity slow-motion footage, follow these steps using the native Camera application:
- Launch the Camera App: Open the application from your Home Screen or Control Center.
- Select Slo-Mo Mode: Swipe the mode selector bar (located above the shutter button) until Slo-Mo is highlighted.
- Configure Frame Rates: Tap the resolution/frame rate indicator in the top right corner. In iOS 26, you can toggle between 120 fps (smoother, better for low light) and 240 fps (extreme slow motion). The AI Image Signal Processor (ISP) will automatically suggest the best setting based on detected ambient light.
- Focus and Exposure: Tap your subject to lock focus. On newer iPhone models, the AI Predictive Tracking will automatically keep moving subjects in sharp focus during high-speed recording.
- Record: Press the red Shutter button to begin. Press it again to stop.
Post-Capture: AI-Enhanced Editing
Once your video is recorded, iOS 26 uses Smart Automation to determine the most impactful parts of the clip to slow down. However, you can manually override these selections:
Open the Photos app and select your video. Tap Edit. You will see a timeline with vertical bars. The bars that are spaced further apart represent the segments played at normal speed, while the tightly packed bars indicate the Slo-Mo section. Simply slide the two tall white anchors to define exactly where the slow-motion effect begins and ends. The Neural Engine will automatically re-render the transitions to prevent "stuttering" between speeds.
Optimizing Storage with AI Compression

High-frame-rate videos are notorious for consuming significant storage. To mitigate this, ensure your High Efficiency (HEVC) settings are active. Go to Settings > Camera > Formats and select High Efficiency. This allows the AI to compress the file size without sacrificing the metadata required for smooth 240 fps playback.
AI Implementation Score
| Feature Category | AI Integration Level | Efficiency Impact |
|---|---|---|
| Frame Interpolation | High | Reduces motion blur in low light. |
| Predictive Auto-Focus | Very High | Ensures subjects stay sharp at 240fps. |
| Auto-Speed Detection | Medium | Suggests optimal Slo-Mo start/end points. |
| HEVC Compression | High | Reduces file size by up to 40% vs H.264. |
By mastering these settings, users can leverage the full computational power of the iPhone’s A-series silicon, turning standard high-speed captures into professional-grade cinematic sequences with minimal manual effort.
