
The physical SIM card remains the foundational gateway for mobile connectivity, even as eSIM adoption increases. For Android enthusiasts and Samsung Galaxy users, the process of inserting a SIM card is the first step toward unlocking AI-driven features like real-time translation and cloud-based automation. At Smart AI Fix, we prioritize hardware efficiency to ensure software stability.

Step 1: Locate the SIM Tray and Ejector Tool

Modern Android devices, particularly the Samsung Galaxy S24 series and Google Pixel phones, house the SIM tray on either the bottom edge or the side rail. Before proceeding, ensure you have a standard SIM ejector tool. If the original tool is missing, a small paperclip can function as a manual override, though a dedicated tool is recommended to prevent structural damage to the internal locking mechanism.
Step 2: Executing the Hardware Ejection
Identify the small pinhole adjacent to the SIM tray. Insert the ejector tool perpendicularly into the hole and apply firm, steady pressure. Do not force the tool if you feel excessive resistance; modern trays are designed with a spring-loaded release that triggers once the internal lever is engaged. The tray will pop out slightly, allowing you to pull it out with your fingertips.
Step 3: Aligning the Nano-SIM for Optimal Connection
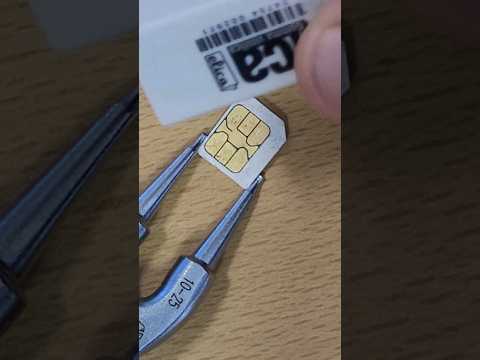
Most contemporary Android phones utilize the Nano-SIM form factor. Observe the tray’s layout; it features a specific "notched" corner. Align the gold contact points of your SIM card facing downward (or toward the screen, depending on the tray design) and match the notched corner of the card with the tray's mold. For Samsung Galaxy "Dual SIM" variants, ensure you are placing the primary card in Slot 1 for prioritized data speeds.
Step 4: Reinsertion and System Initialization
Slide the tray back into the device until it is flush with the frame. Modern Android operating systems are designed with "Hot Swap" capabilities, meaning you rarely need to reboot. However, for the AI-driven network optimization to calibrate correctly, a quick toggle of Airplane Mode is recommended. This forces the modem to handshake with local towers and pull the latest APN (Access Point Name) configurations automatically.
AI Implementation Score: SIM Integration
The following table evaluates how modern Android devices leverage AI and automation during the SIM setup process:
| Metric | Score | Technical Reasoning |
|---|---|---|
| Automation Ease | 9/10 | Auto-detects carrier APN settings without manual user input. |
| AI Connectivity | 8/10 | Uses machine learning to switch between 5G and LTE to save battery. |
| Setup Efficiency | 10/10 | Instant hardware recognition triggers immediate background updates. |
Step 5: Verifying Software Activation

Once the card is inserted, navigate to Settings > Connections > SIM Manager. Here, your Android device will display the carrier name and signal strength. If you are using a Samsung Galaxy, the device may prompt a "Service Provider Update" which optimizes the software overlay for your specific network, ensuring that AI features like Circle to Search and Live Translate have the stable data throughput they require.
