
Unlocking Advanced Control: Enabling Android Developer Options for AI and Automation

For power users and software engineers, the default Android interface is merely the tip of the iceberg. To leverage AI-driven automation, debug custom LLM integrations, or optimize device performance via ADB (Android Debug Bridge), unlocking the Developer Options menu is the mandatory first step. This hidden layer provides granular control over the operating system's kernel-level behaviors and hardware acceleration settings.
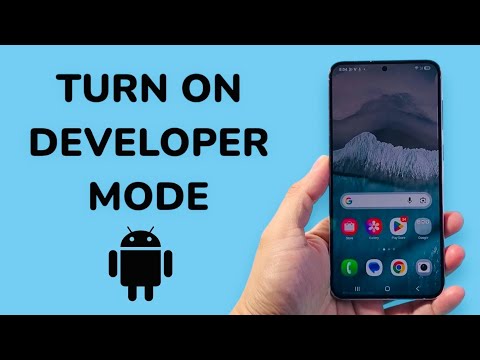
Step-by-Step: Activating Developer Mode

While the Android ecosystem is fragmented across various OEMs (Original Equipment Manufacturers), the process for enabling Developer Options remains relatively standardized. Follow these technical steps to bypass the consumer-grade UI restrictions:
1. Navigate to System Settings: Swipe down the notification shade and tap the gear icon, or locate the "Settings" app in your application drawer.
2. Locate Device Information: Scroll to the bottom of the menu and select "About phone" or "About tablet." On some devices running specialized skins (like Samsung’s One UI or Xiaomi’s HyperOS), you may need to navigate to "Software information" first.
3. The "Build Number" Trigger: Find the entry labeled "Build number." To trigger the hidden menu, tap this entry seven (7) times in rapid succession. After a few taps, a toast notification will appear saying, "You are now X steps away from being a developer."
4. Authentication: Once the seventh tap is registered, the OS will prompt you for your device PIN, pattern, or biometric authentication to verify administrative intent.
5. Accessing the Menu: Once confirmed, a notification will state, "You are now a developer!" You can find the newly unlocked Developer options menu under Settings > System or, on older versions, directly within the main Settings list.
Optimizing for AI and Software Efficiency
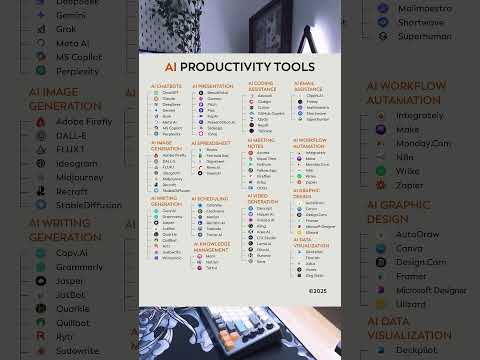
Enabling the menu is only the beginning. For those focusing on software automation and AI efficiency, three specific toggles are critical:
USB Debugging: This allows your workstation to communicate with the Android device via the ADB interface. It is essential for pushing machine learning models directly to the mobile NPU (Neural Processing Unit).
Force 4x MSAA: For users testing AI-driven computer vision or graphical automation, this forces the system to use multi-sample anti-aliasing in Open GL ES 2.0 apps, providing higher fidelity for image recognition algorithms.
Window Animation Scale: Reducing these values to .5x or turning them off entirely significantly reduces the latency of UI transitions, allowing automation scripts (like Python-based UI Automator) to execute commands with higher temporal precision.
AI Implementation Score
The following table evaluates the impact of Developer Options on various technical implementation workflows:
| Workflow Category | Efficiency Impact | Technical Requirement |
|---|---|---|
| Local AI Model Testing | High | USB Debugging / ADB |
| Automated QA Scripting | Critical | Disable Transition Scales |
| Resource Monitoring | Medium | GPU Rendering Profile |
| Background Process Control | High | Limit Background Processes |
By mastering these hidden configurations, you transform a standard mobile device into a high-performance environment suitable for advanced software development and AI integration. Always exercise caution, as modifying certain parameters like "OEM Unlocking" or "Select Mock Location" can impact device security and OTA update stability.
