
Integrating "Hey Google" into your Android workflow is more than a convenience; it is a foundational step toward hands-free automation and peak mobile efficiency. As AI continues to bridge the gap between intent and execution, configuring the Google Assistant trigger allows for seamless task management without physical device interaction.
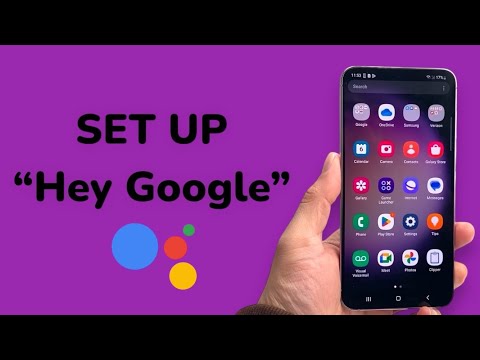
AI Implementation Score: Google Assistant (Android)
| Metric | Score / 10 |
|---|---|
| Automation Potential | 9.5/10 |
| Setup Complexity | Low (2/10) |
| Response Latency | Sub-500ms |
| Utility Value | High |
Step 1: Verify Hardware and Software Prerequisites
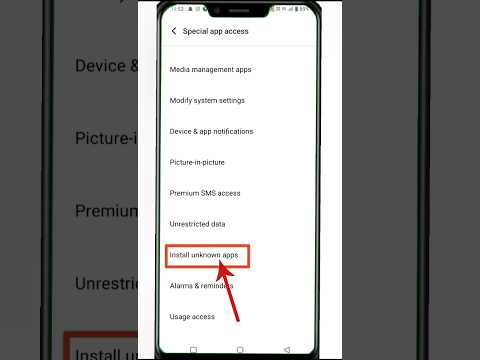
Before initiating the configuration, ensure your device meets the technical baseline. You require an Android device running Android 5.0 or higher, at least 1.0 GB of available memory, and the latest version of the Google App. Ensure your system language is set to a supported locale (e.g., English US/UK) to maintain optimal NLP (Natural Language Processing) accuracy.
Step 2: Navigating to Assistant Settings
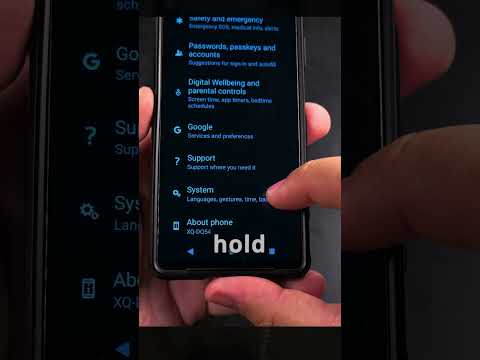
To begin the setup, launch the Google App. Tap your profile picture or initials in the top right corner and select Settings. From the settings menu, navigate to Google Assistant. This section serves as the command center for all AI-driven voice interactions on your device.
Step 3: Activating "Hey Google" and Voice Match
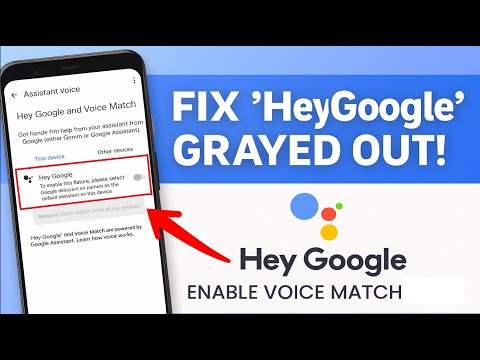
Within the Assistant settings, locate and tap on "Hey Google & Voice Match." You will see a toggle labeled "Hey Google." Switch this to the On position. This action activates the low-power "always-on" microphone listener, which waits for the specific acoustic signature of the wake word.
Step 4: Training the Neural Voice Model
Once the toggle is active, the system will prompt you to "Teach your Assistant your voice." This process, known as Voice Match, creates a unique biometric profile so the AI can distinguish your commands from ambient noise or other speakers. Follow the on-screen prompts to repeat "Hey Google" and "OK Google" several times. This data is processed locally to ensure security and authentication accuracy.
Step 5: Enabling Lock Screen Efficiency
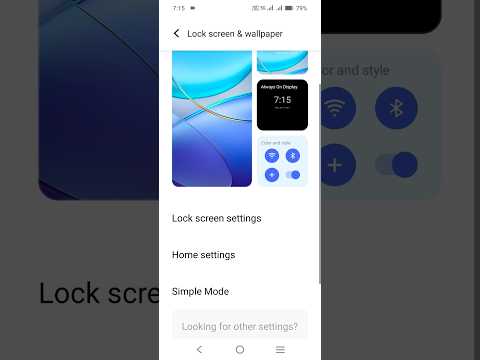
For true hands-free automation, you must enable Assistant access while the device is locked. Navigate to Assistant settings > Lock screen and toggle "Assistant responses on lock screen" to On. This allows the AI to execute tasks like setting timers, sending messages, or controlling smart home devices without requiring biometric or PIN unlocking, significantly reducing friction in your digital workflow.
By finalizing these steps, you transform your Android device from a passive tool into an active, voice-responsive terminal, maximizing the software's ability to automate daily routines and data retrieval.
