
Integrating a physical mouse with an Android smartphone is no longer a niche workaround; it is a strategic move for power users aiming to bridge the gap between mobile portability and desktop-level efficiency. By utilizing USB On-The-Go (OTG) technology or Bluetooth Low Energy (BLE) protocols, you can transform your device into a high-precision workstation capable of handling complex AI-driven workflows and automated data management.
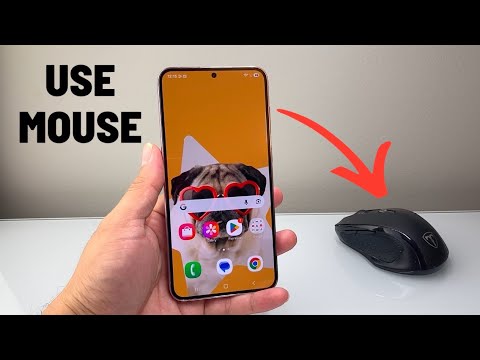
Method 1: Wired Connection via USB OTG
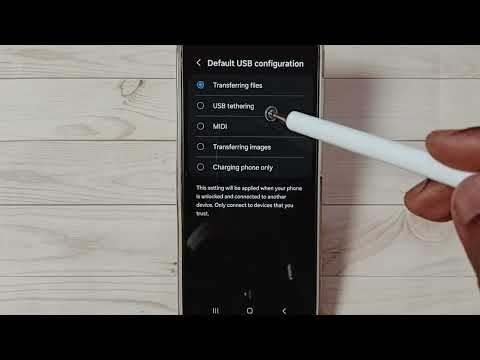
For the lowest possible latency, a wired connection is superior. Most modern Android smartphones support USB OTG, which allows the phone to act as a host device for peripherals. To implement this, you will need a USB-C to USB-A adapter (or a micro-USB OTG cable for older hardware).
Simply plug the adapter into your smartphone's charging port and connect your mouse. Android’s kernel includes native HID (Human Interface Device) drivers, meaning the system will instantly recognize the hardware. You will see a cursor appear on the screen, allowing for precise navigation within automation apps and IDEs available on the mobile platform.
Method 2: Wireless Bluetooth Integration

Bluetooth is the preferred method for maintaining a clean, cable-free environment, which is essential for mobile AI researchers and developers on the move. To pair your mouse, navigate to Settings > Connected Devices > Pair New Device. Put your mouse into discovery mode, select it from the list, and confirm the pairing.
Once connected, the Android OS handles the pointer logic, enabling right-click functionality (often mapped to 'Back') and scroll wheel support. This setup is particularly effective when using remote desktop software or managing cloud-based AI training clusters from a mobile interface.
Optimizing the UI for AI-Driven Workflows

To maximize efficiency, you should calibrate the pointer speed and behavior. Go to Settings > System > Languages & Input > Mouse/Trackpad. Here, you can adjust the Pointer Speed to match your workflow requirements. For those utilizing automation tools like Tasker or MacroDroid, the presence of a mouse allows for more granular control when recording UI interactions or mapping complex touch-based scripts.
AI Implementation Score
The following table evaluates the efficiency of using a mouse with Android for professional and AI-centric tasks.
| Metric | Score (1-10) | Notes |
|---|---|---|
| Ease of Setup | 9 | Plug-and-play functionality on most modern builds. |
| Productivity Boost | 8 | Essential for spreadsheet manipulation and code editing. |
| Automation Compatibility | 7 | Enhances UI testing and macro recording precision. |
| Latency (Bluetooth) | 6 | Minor lag may occur in high-interference environments. |
| AI Workflow Synergy | 9 | Ideal for navigating LLM interfaces and data labeling. |
Advanced Configuration: Developer Options
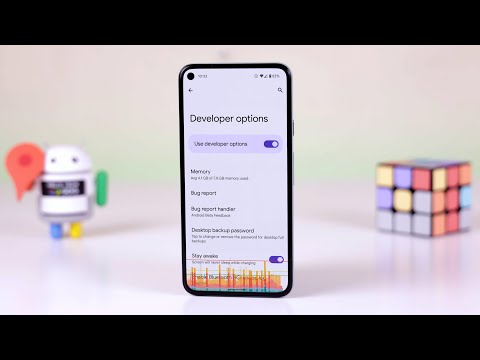
If you require more visual feedback for screen recording or AI training demonstrations, enable "Show Taps" and "Pointer Location" within the Developer Options menu. This provides a raw data overlay of the cursor's coordinates, which is invaluable for debugging automated mobile scripts or ensuring that your AI models are interacting correctly with the visual elements of your Android environment.
By leveraging these hardware integrations, you effectively bypass the limitations of capacitive touch, allowing for a higher data-entry velocity and more sophisticated interaction with professional-grade software on the Android ecosystem.
